Copy your database to test a new version
Prerequisites
You have installed a database server MySql, MariaDb ou PostGreSql on your own systems.
You have a production database on this server, used by the last stable version of Gestinux.
It is not necessary to know SQL, Gestinux can be used for all the steps.
1. Make a copy
Run the last stable version of Gestinux and open your database as usual.
Warning : do not use now the version to test, this can't work...
1.1 Backup the source database
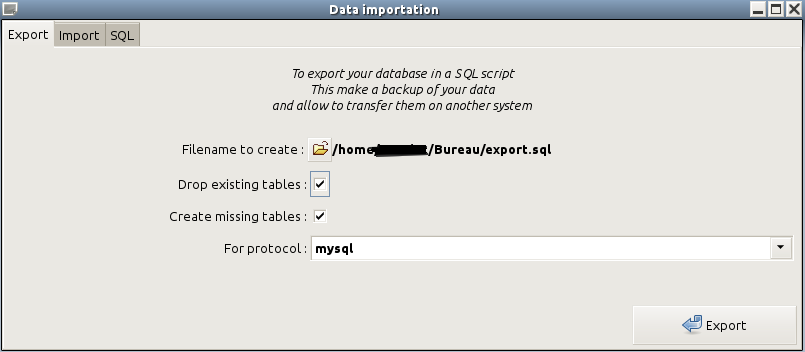
Parameters, Import/Export data
Enter a filename, it can be on your desktop or anywhere.
Check the box "Drop existing tables".
And click "Export"
1.2 Create the test database
You are still using the stable version of Gestinux...
You will be able later to resume here with the file exported in 1.1, to reset an existing test database with "fresh" data.
1.2.1 with Gestinux >= 1.6
Creation and restoration of the test database is done in one operation with this version, in the tabsheet "Restoration".
1.2.2 with Gestinux <= 1.5
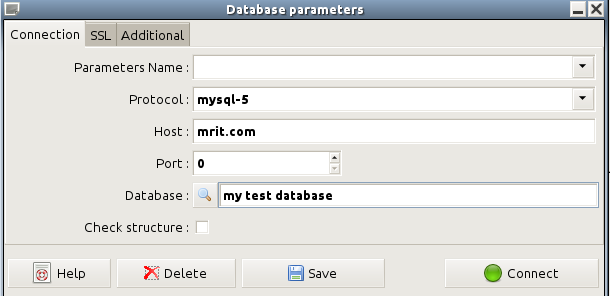
Select Parameters, Databases
Enter a new, non existing database name. To check the existing names, click on the button on the left of the edit box.
Click on Connect
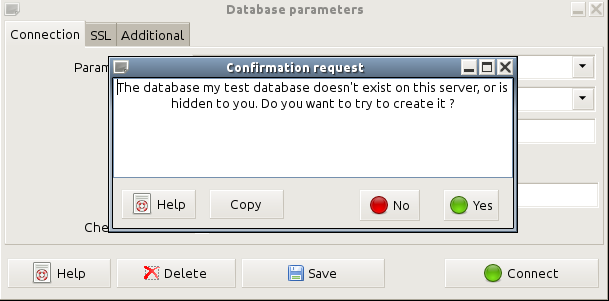
You must have a query to confirm the creation of a new database. Answer Yes.
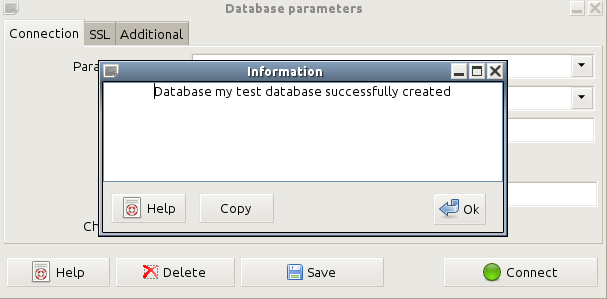
Wait for the creation to be finished, and click OK when the confirmation message is displayed.
Save the parameters under a name showing clearly that it is a test (this name will be visible in the title of the main menu window).
1.3 With Gestinux <= 1.5 : Importation of real data
Still using the last stable version of Gestinux, not the version to test...
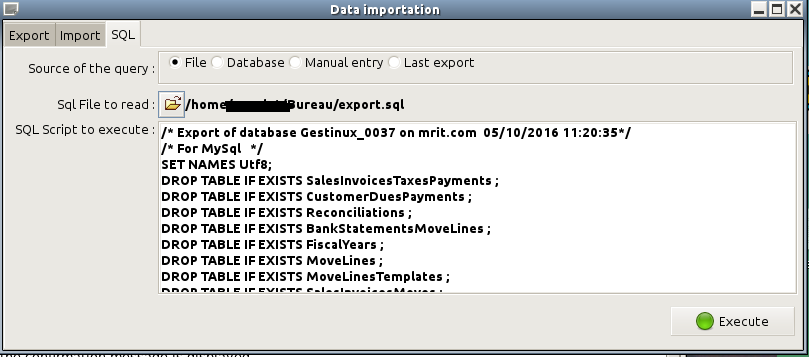
Parameters, Import/Export data, tabsheet SQL
Source of the query : File
Select the file you have saved previously in 1.1.
A long script will be displayed.
Click Execute.
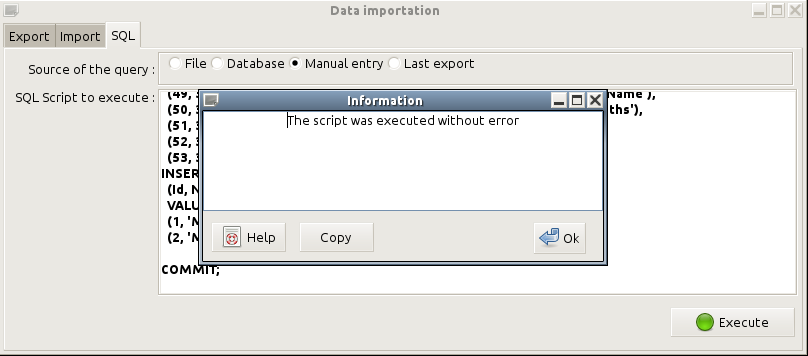
Wait the message : "The script has been executed without error" and click "Ok"
You can now use your test database. Be careful to avoid using the real one by error !
Note : Don't try to import a backup of a stable version into a database created or used by a more recent version. It is necessary to create a new database with the stable version, as described above.
2. Testing
Run now the new version of Gestinux to be tested, and open the database you just created.
You will have to confirm an upgrade of this database. Answer "Yes" et wait end of data checks and upgrades.
Warning : check every time that you are working on a copy for tests with the version to test, or on the production database with the stable version.
Tests to perform
Of course, it is useful to test new functionnalities, listed here.
It is also very important and useful to test non regression, that is to ckeck than all existing features in the stable version are existing and working in the test version. This the most tedious to do.
A stable version of Gestinux is usually able to work on a database upgraded by the next version. You should be able to open the test copy with the stable version, and get everything that you can get with the stable version, browsing or editing datas. Of course you will not see the completely news data (E.G Orders) but no severe error should occur. This has been tricky to achieve, and must be tested with care. If you returns unsing the new version in test, a new upgrade will be triggered.
Do not forget the functionnalities rarely used, like data import.
3. Delete the test database
Allways check with care the name of the database, selecting Parameters, Database. It is written in the field "Database".
- Select Parameters, Import/Export data
- Select tabsheet SQL
- Select "Manual entry"
- Type DROP DATABASE nomdelabase ; (replace italics by the exact name of your test database)
- Check "'Final commit"
- Click Execute
